Configuring Unravel on Github
Unravel offers Continuous Integration and Continuous Deployment (CI/CD) integration for the GitHub platform. This new capability enhances data application development by integrating Unravel's intelligence and monitoring tools into the CI/CD pipeline. This integration helps detect inefficiencies that reduce query performance and provides insights, such as reviewing using union instead of union all, using order by without limits, and usage of function in predicate insights before queries reach production. By using this integration, you can save costs and enhance query performance.
What to expect
Unravel CI/CD integration allows for early detection and prevention of performance issues.
Developers can proactively address bottlenecks, anomalies, and failures before they impact users.
Teams can meet financial and performance goals by analyzing critical metrics during development.
Bottlenecks are identified and resolved promptly, reducing cycle times.
Real-time visibility helps in making data-driven decisions.
Configuring Unravel on Github
There are three steps to configure Unravel on Github:
Configure Secrets
Configure Variables
Add the required files
Configuring the Secrets
To configure CI/CD integration into your GitHub repository:
In your GitHub repository, go to Settings.
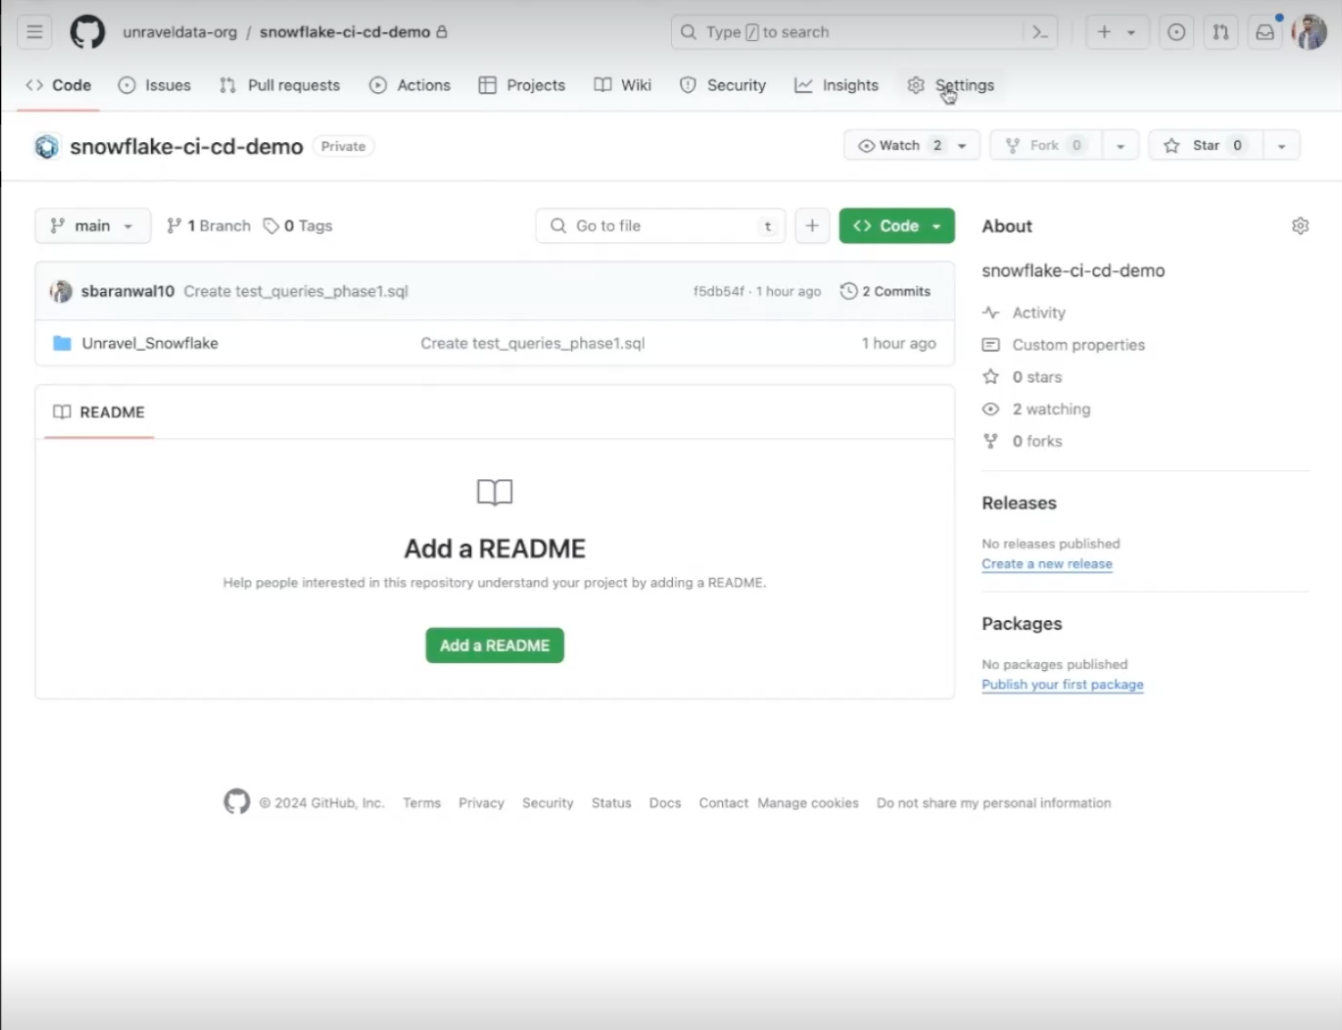
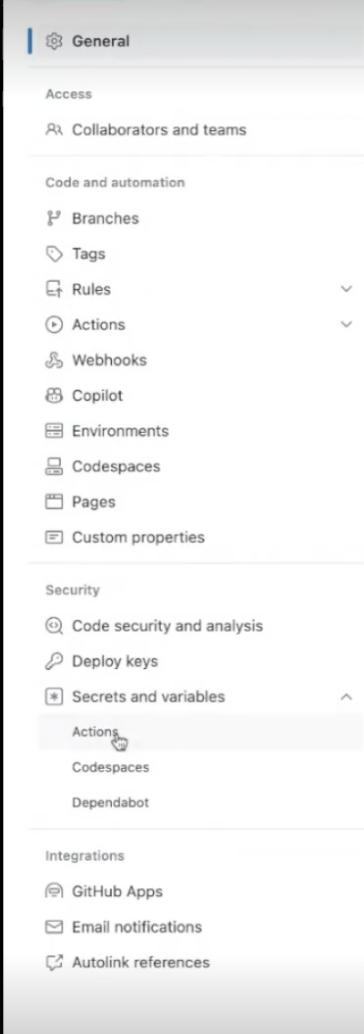
From the left pane, click Secrets and Variables > Actions. The Actions secrets and variables window is displayed.
Configure the following three secrets under secrets:

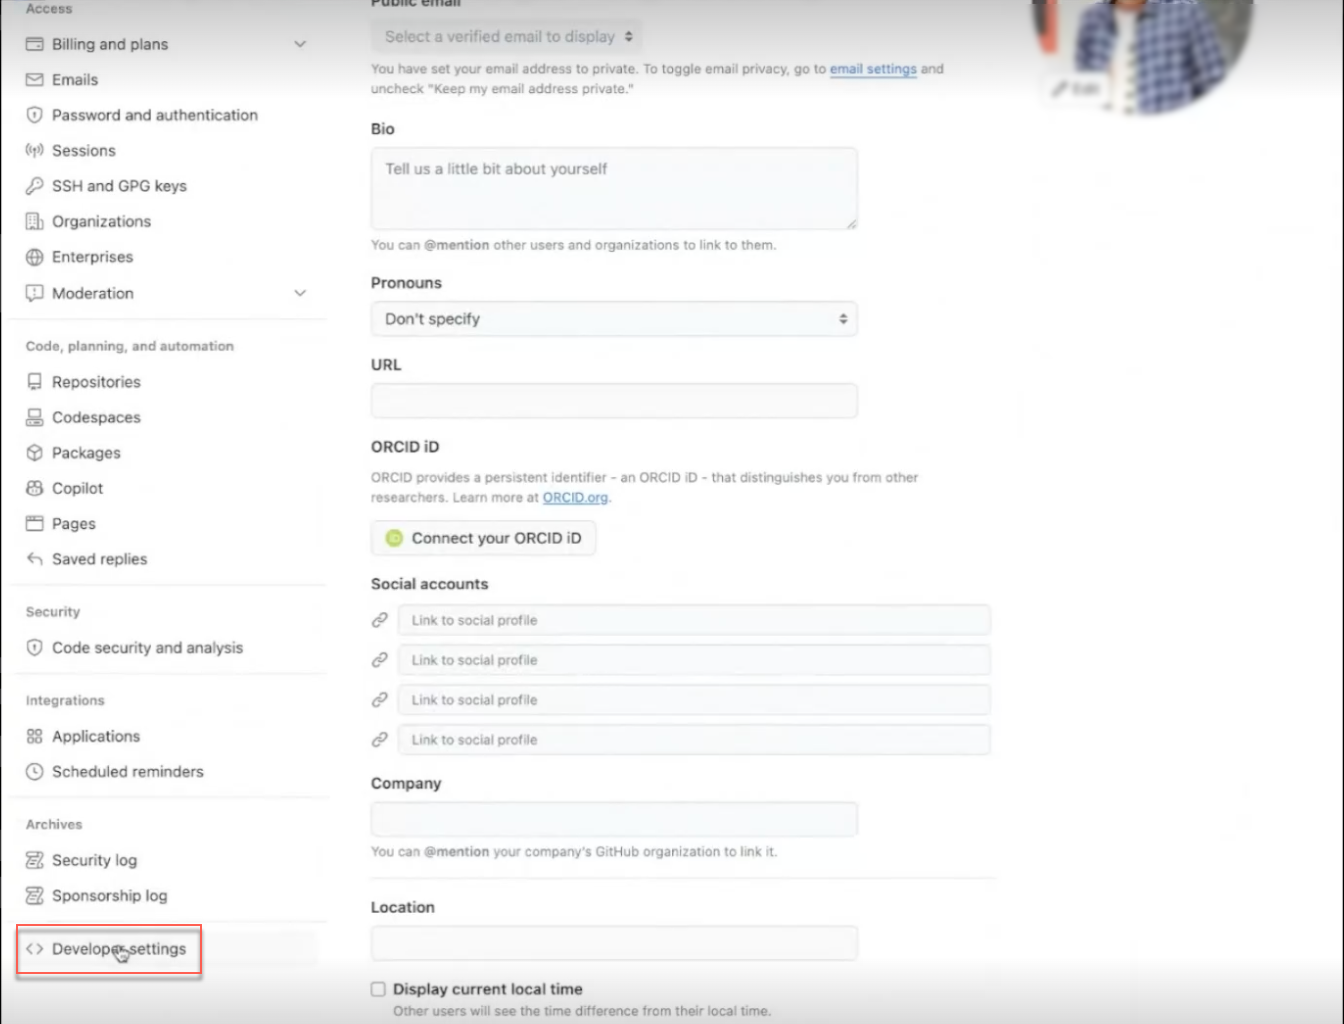
Click the user profile icon in the top right corner and select Settings.
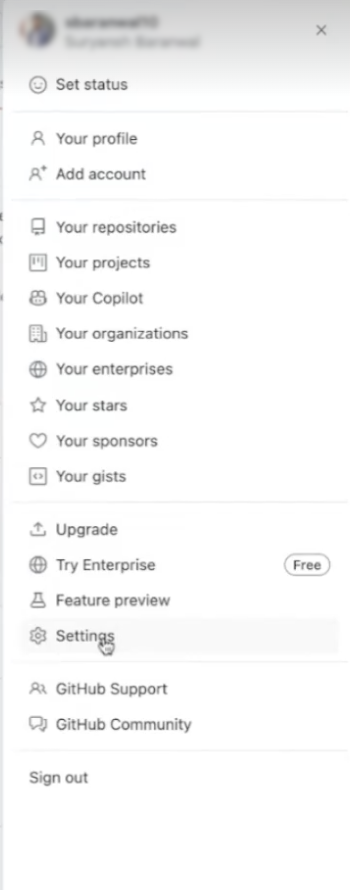
Click Developer settings from the left pane. The GitHub Apps window opens.
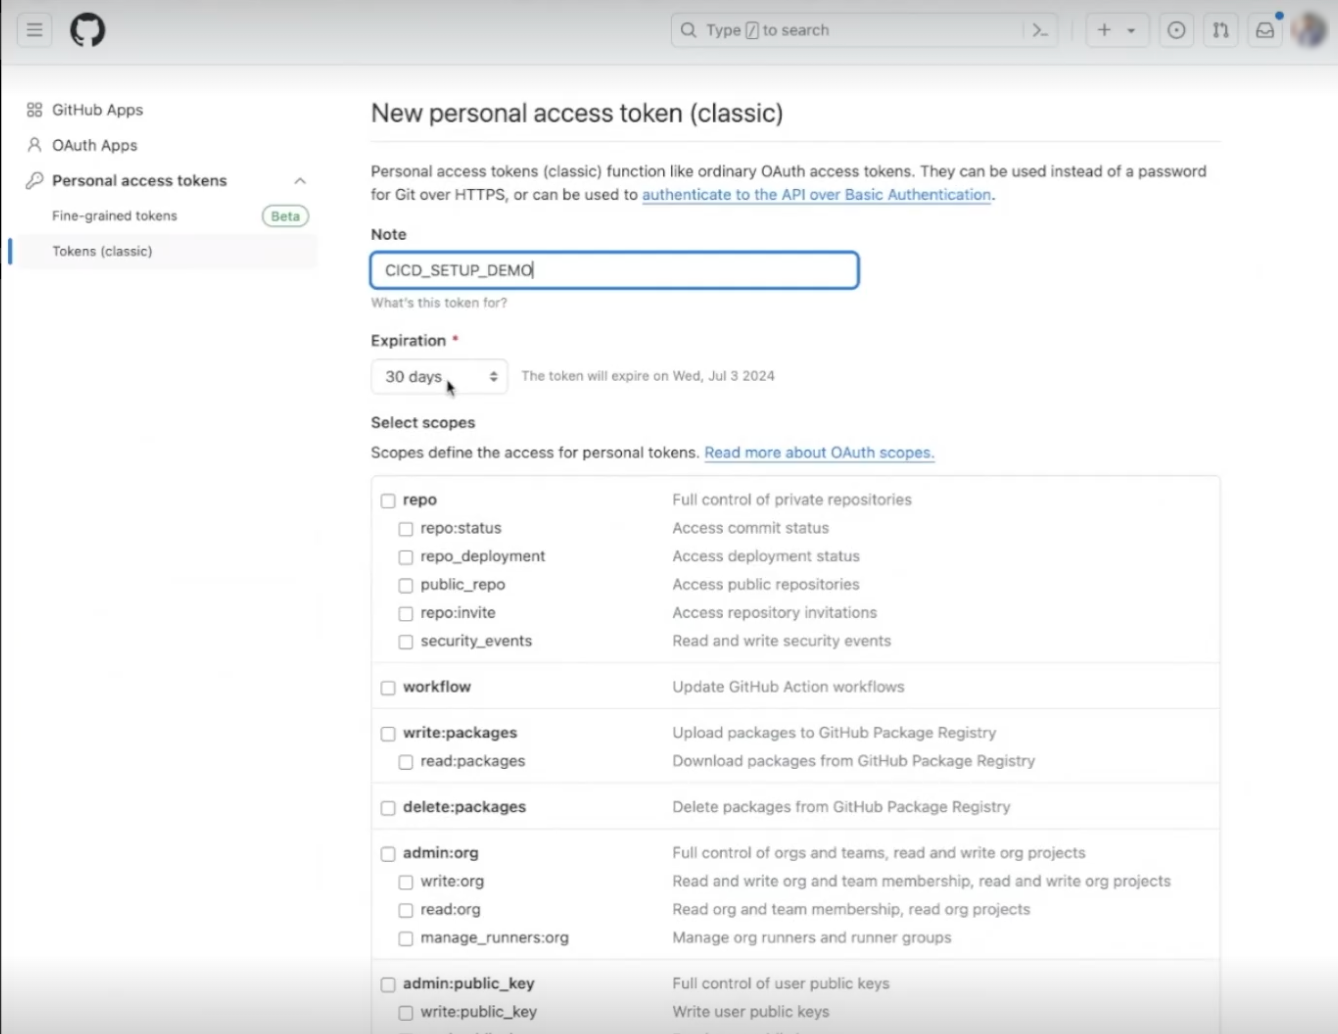
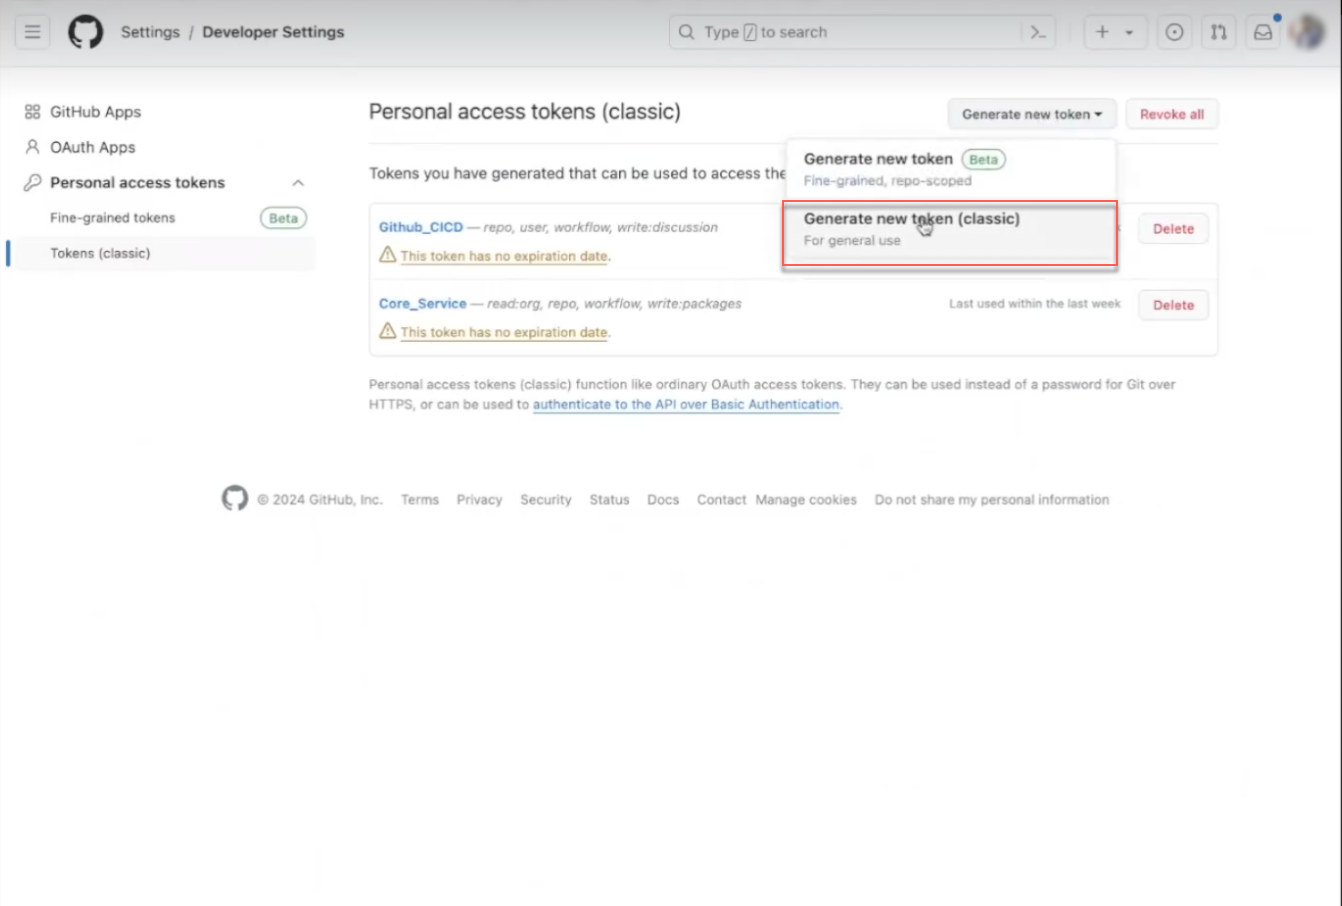
Click Personal access tokens > Tokens (classic). The Personal access tokens (classic) window opens.
Click Generate new token.
Provide a name for the token.
Select the expiration period from the drop-down.
Select the required access. The following access permissions are mandatory:
repo
workflow
user
write
Click Generate token. The token is generated. Copy the token.
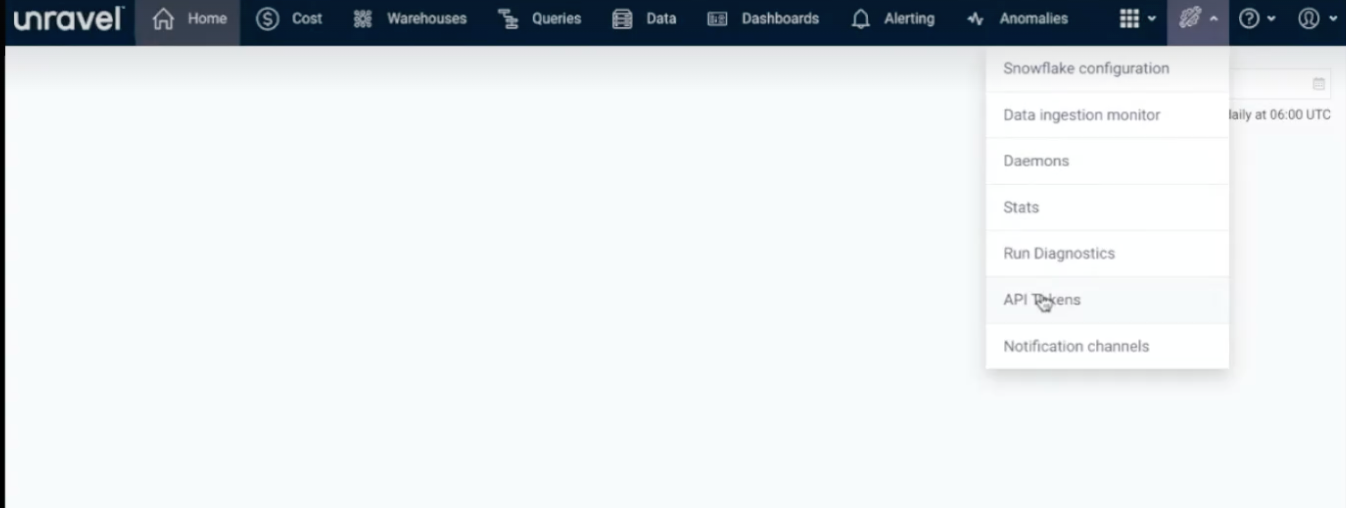
From the Unravel UI, click the Configuration icon > API tokens. The API tokens window opens.
Click New. The New API Token dialog box appears.
Enter a name for the client ID.
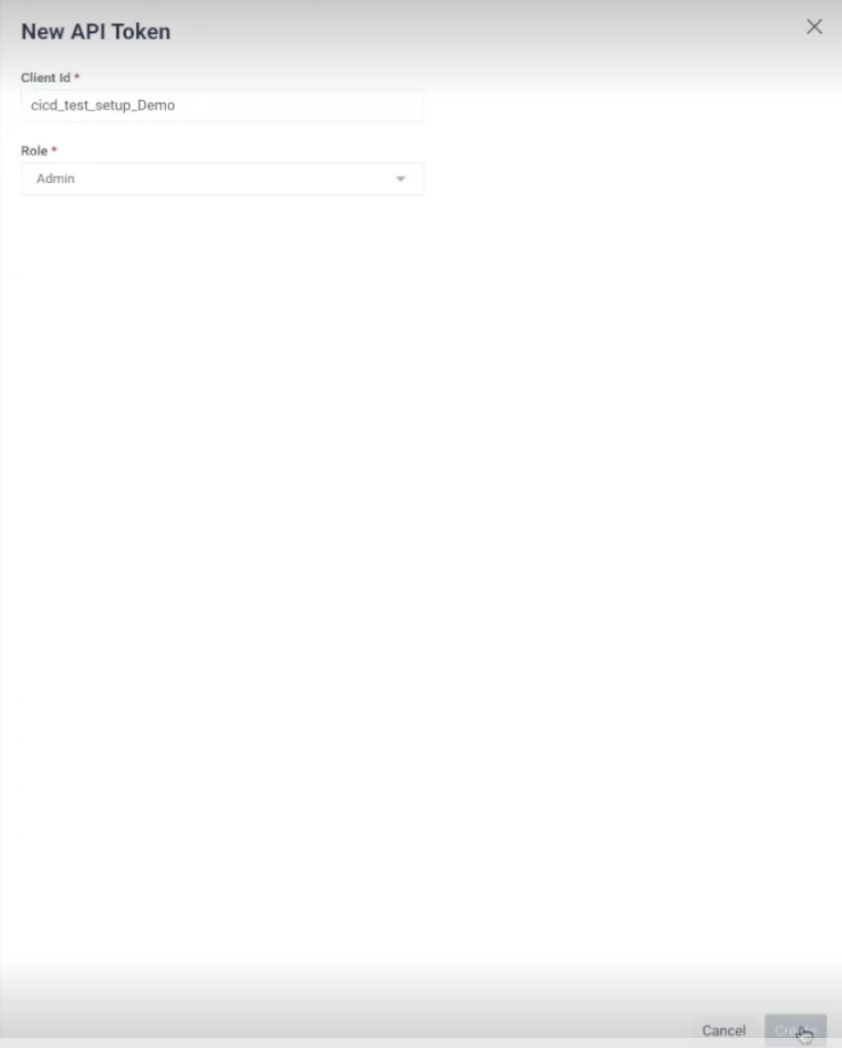
Select the Admin role and click Create.
Copy the token.
Copy the IP address of the machine where Unravel is hosted.
Add the Secrets
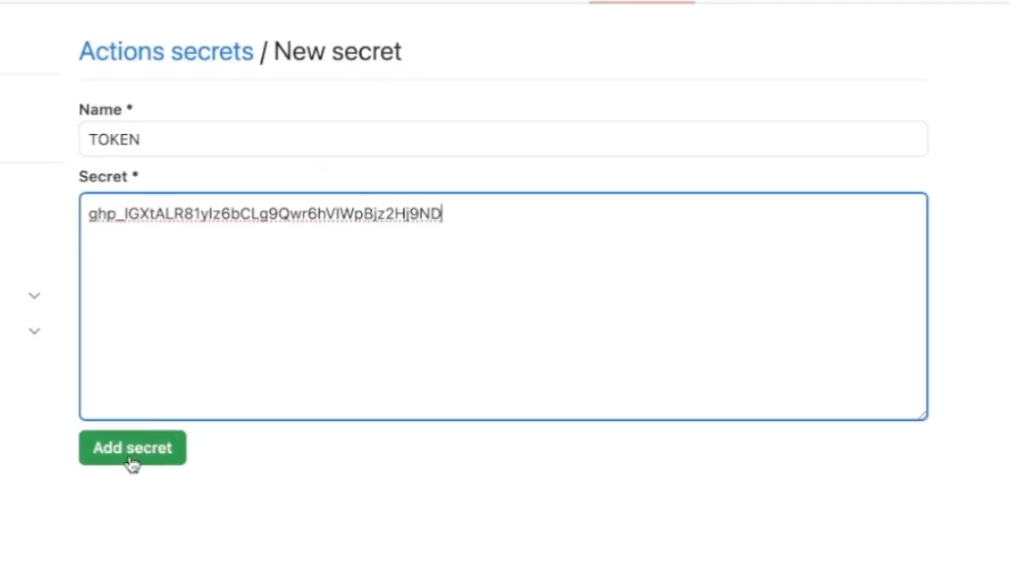
Under Repository Secrets, click New Repository Secret. The New secret window opens.
Provide a name for the secret.
Paste the copied user GitHub token and click Add secret. The user token is added.
Repeat steps 1-3 for the Unravel JWT token and Unravel URL, adding each as a new secret.
Configuring the Variables
You need to configure the following three variables:
Variables related to your Snowflake account
Variables related to your Snowflake database
Snowflake schema to be used
In your GitHub repository, go to Settings.
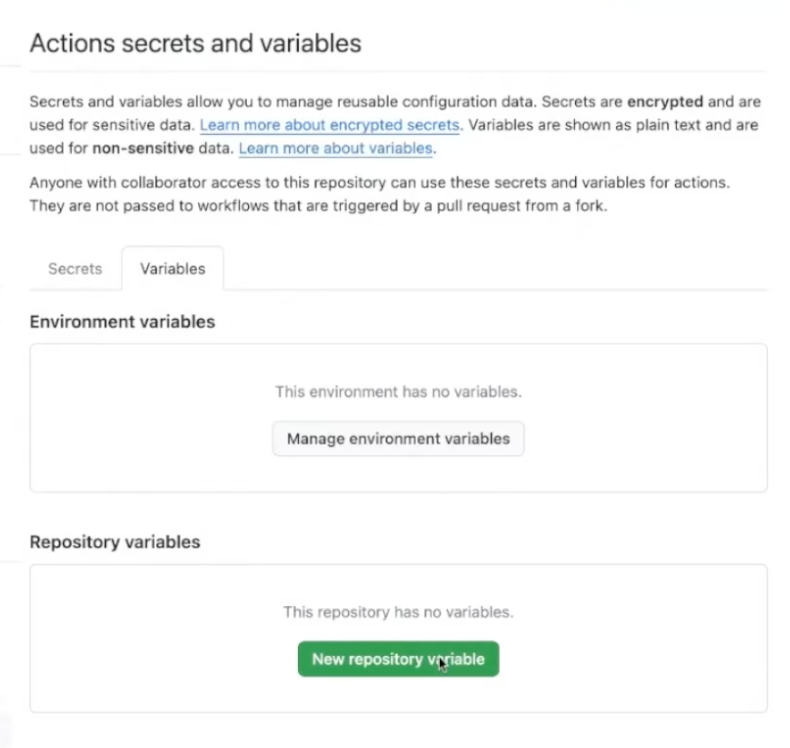
From the left pane, click Secrets and Variables > Actions. The Actions secrets and variables window opens.
Click the Variables tab.
Add the Variables by following these steps:
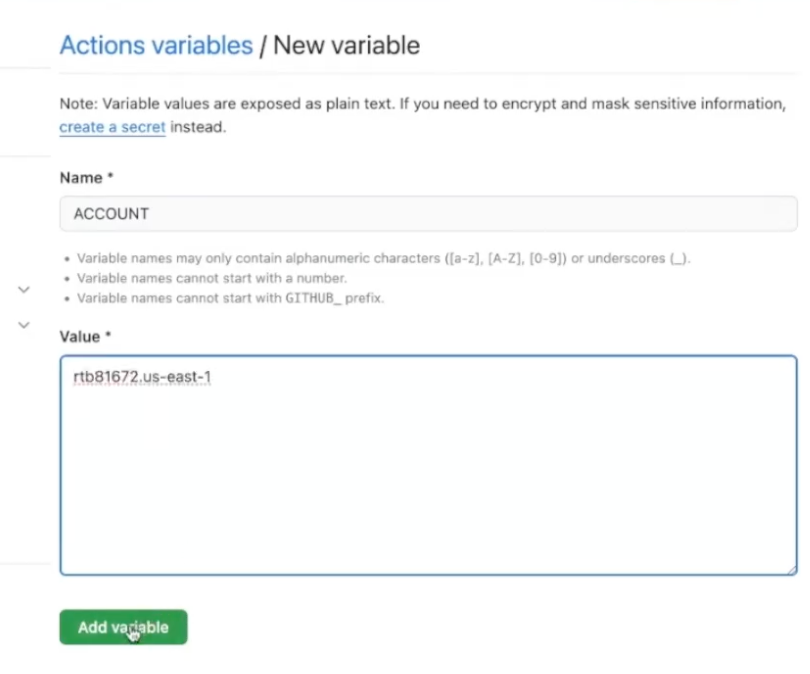
Under Repository variables, click New Repository variable. The New variable window opens.
Provide a name for the variable. For example, Account.
Under Value, paste your Snowflake account ID (the identifier of your Snowflake account) and click Add variable. The variable is added.
Repeat steps 1-3 for the Snowflake database and Snowflake schema , adding each as a new variable.
For example:
Snowflake Database
Name: Prod-Database. Value: The name of your Snowflake database. This is the database where your queries will be executed.
Snowflake Schema
Name: PROD-Schema. Value: The schema within your Snowflake database that you intend to use.
Add the Files
The Workflow file, Python Setup, and Python file should be added to the Github repository. Follow the steps given here to add the files.
Click the plus icon beside Go to file in the repository and create a new file.
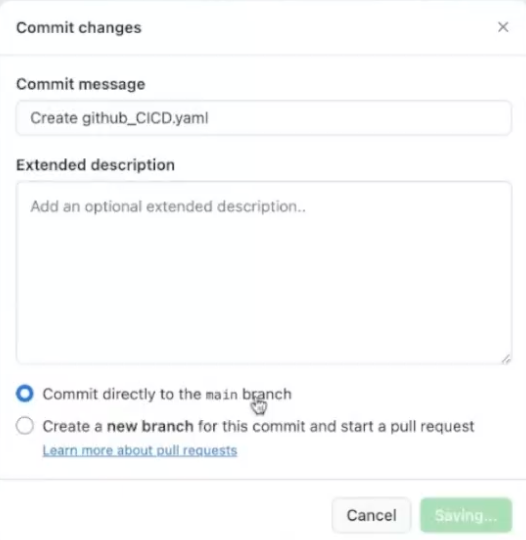
The workflow file should be created inside .github/workflows. Name the file as github_CICD.yaml. This naming convention should be followed.
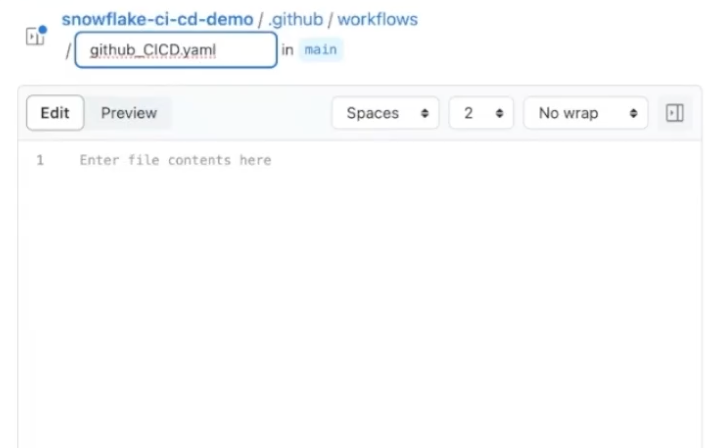
Copy the YAML file provided by Unravel here and commit the changes directly to the main branch.
Click the plus icon beside Go to file in the repository and create a new file.
This file should be created inside cicd-python-script folder. Name the file github_cicd_setup.py. This naming convention should be followed.
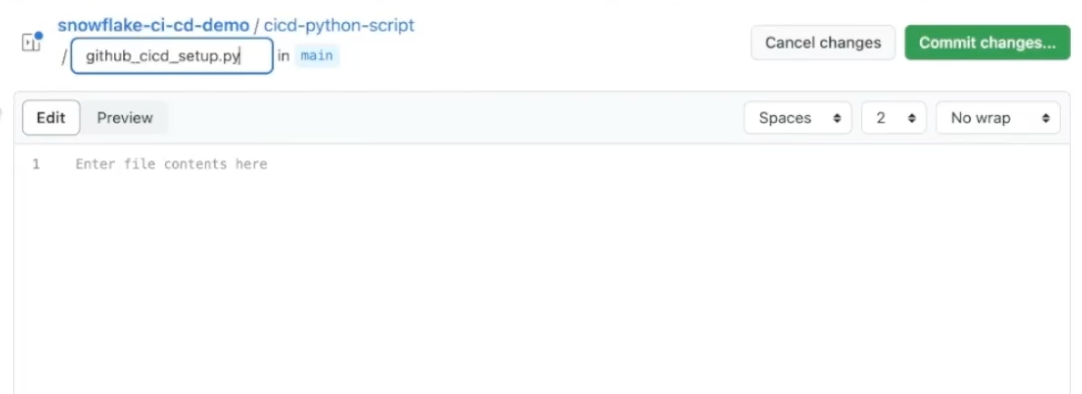
Copy the github_cicd_setup.py file provided by Unravel here and commit the changes directly to the main branch.
Click the plus icon beside Go to file in the repository and create a new file.
This file should be created inside cicd-python-script. Name the file github_cicd_python.py. This naming convention should be followed.
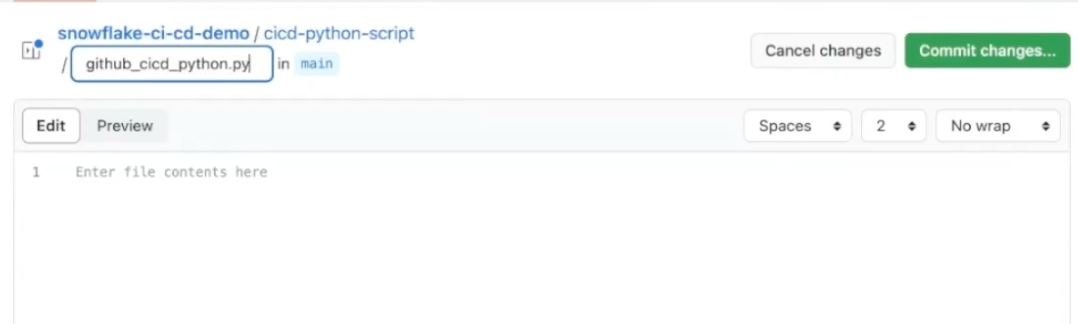
Copy the github_cicd_python.py file provided by Unravel here. Propose the changes and create a pull request.
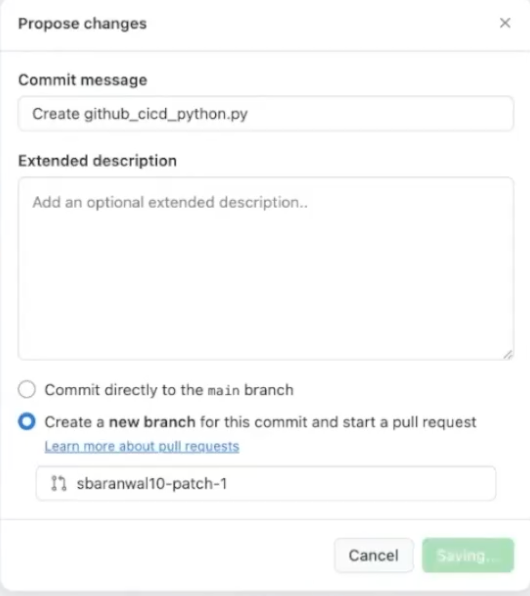
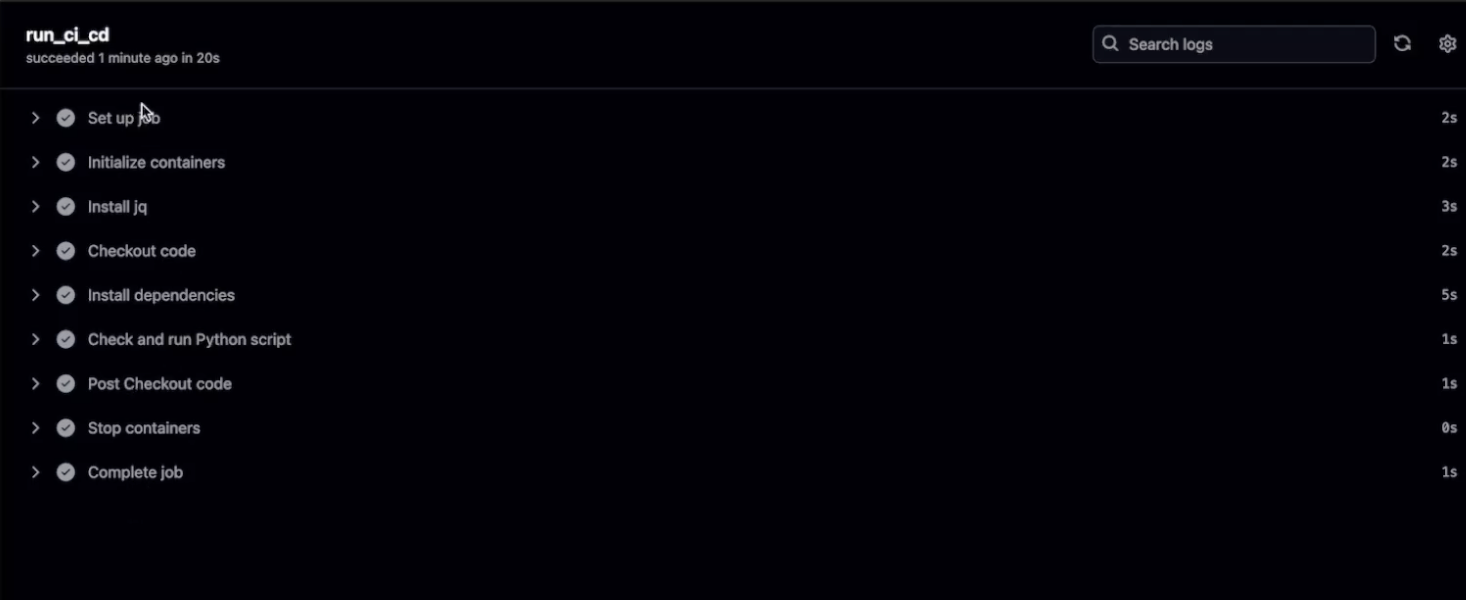
As the pull request is created, a GitHub workflow is triggered. This configures the CI/CD in your GitHub repository.
The workflow initializes the containers, installs jq, checks out the code, installs dependencies, and executes the Python script.
After completion and all checks have passed, merge the pull request.
You can delete this branch after the merge is completed.
Once merged and the scripts have been added to the GitHub repository, your CI/CD is configured, and you can continue executing SQL queries.