AutoActions
The AutoActions automate the monitoring of your compute cluster by allowing you to define complex, actionable rules on different cluster metrics.

Alerts can be generated by setting AutoActions. For example, you can use an AutoAction to notify you about a situation that requires manual intervention, such as resource contention or stuck jobs.
The Unravel server processes AutoActions by:
Collecting various metrics from the cluster.
Aggregating the metrics according to user-defined triggers (rule) and scope.
Detecting violations.
Executing the defined actions for each rule violation.
Each rule consists of the:
Trigger Conditions are the rules (triggers) that determine when an AutoAction is violated, for example, apps using more than 2 GB of memory.
Scope for which the triggers are valid. For example, the app is owned by User X and on cluster Y.
Actions to take when the AutoAction is triggered in the correct scope, for example, send an email to User X.
Viewing AutoActions
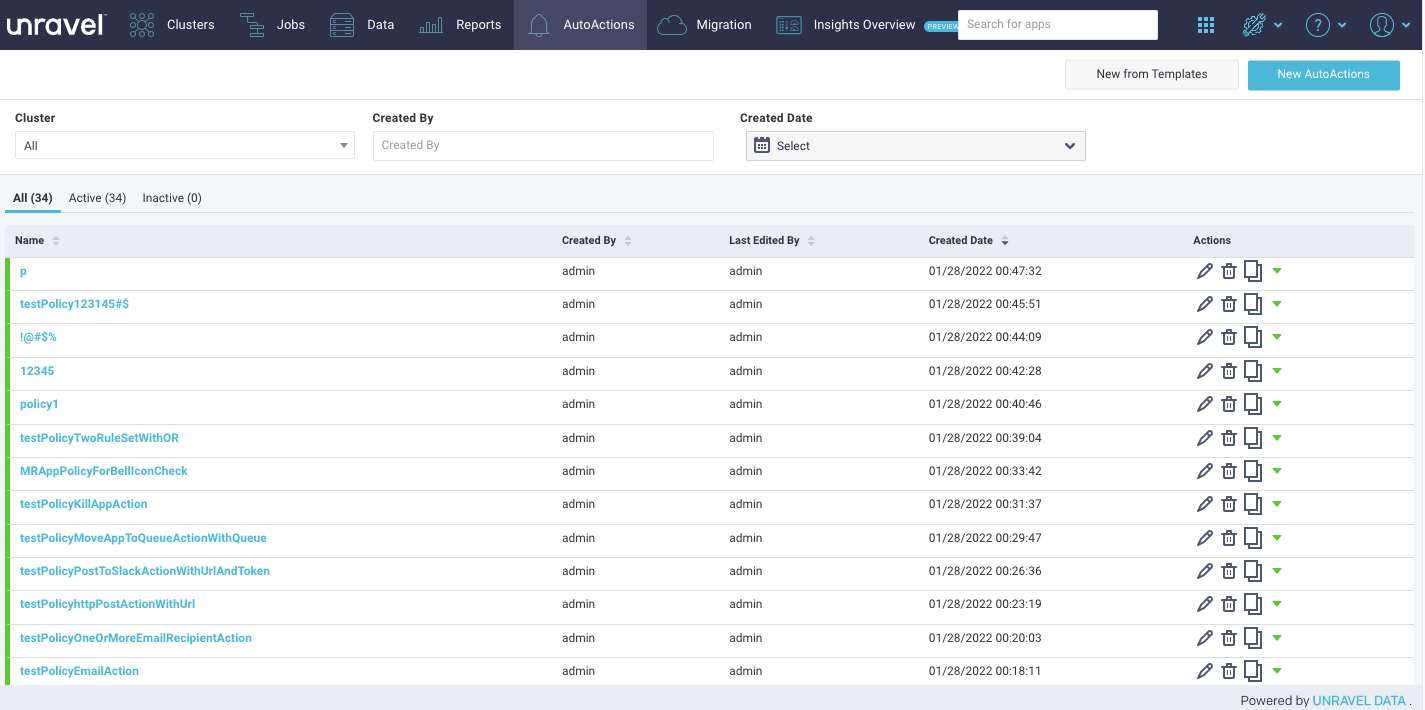
You can view all the AutoActions created from the AutoActions tab. To filter and view the AutoActions, do the following:
On the Unravel UI, click the AutoActions tab.
From the following, select an option to filter the AutoActions:
Cluster
Created By
Created Date
The AutoActions are listed in the following tabs:
All, where all the created AutoActions, irrespective of whether they are active or inactive, are listed.
Active, where only the active AutoActions are listed.
Inactive, where only the inactive Autoactions are listed.
Click the name link of AutoAction to view the history of runs and the details of the applications that violated the policy.
Click
 to edit the AutoAction details, click
  to delete the AutoAction, and click
  to copy the JSON. You can also toggle between
  and
and  activate or inactivate an AutoAction.
Click New from Templates to create an AutoAction using a predefined template or the expert mode . Click New AutoAction for an empty template.